December 14, 2017

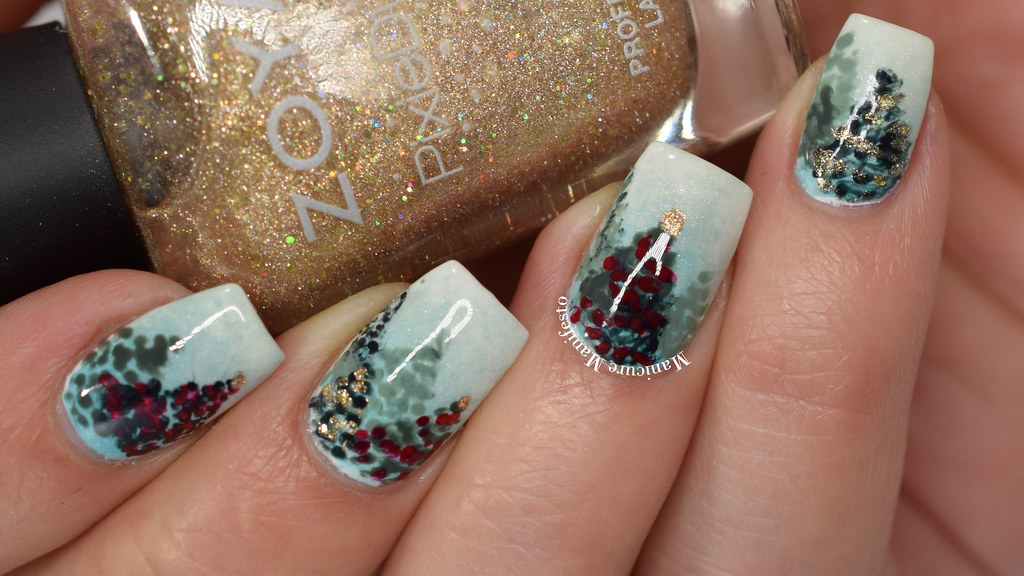
Christmas Tree Forest Nail Art


Holiday nail art

Hello readers,
Today I have my entry for the Nail Polish Canada Holiday 2017 Nail Art contest to share with you. I went for a soft forest scene with pops of colour and Christmas trees. Be sure to head over to check out all the entries and vote for your favorite.

June 26, 2017

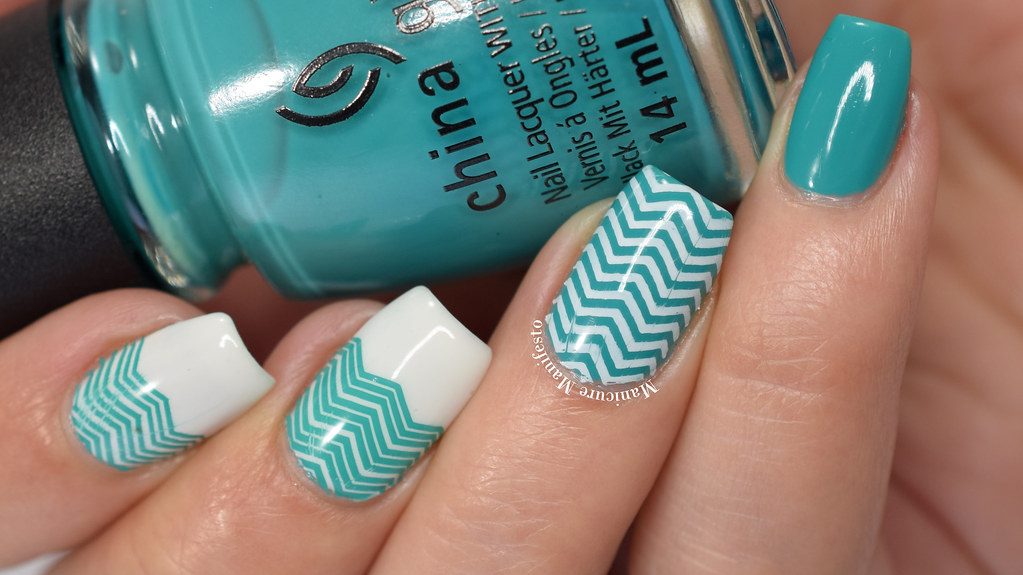
White & Teal Chevron Nail Art


Konad white stamping polish

Hello readers,
Teal and white are one of my favorite colour combinations so I decided to incorporate it with some chevrons for this nail art look.

May 12, 2017

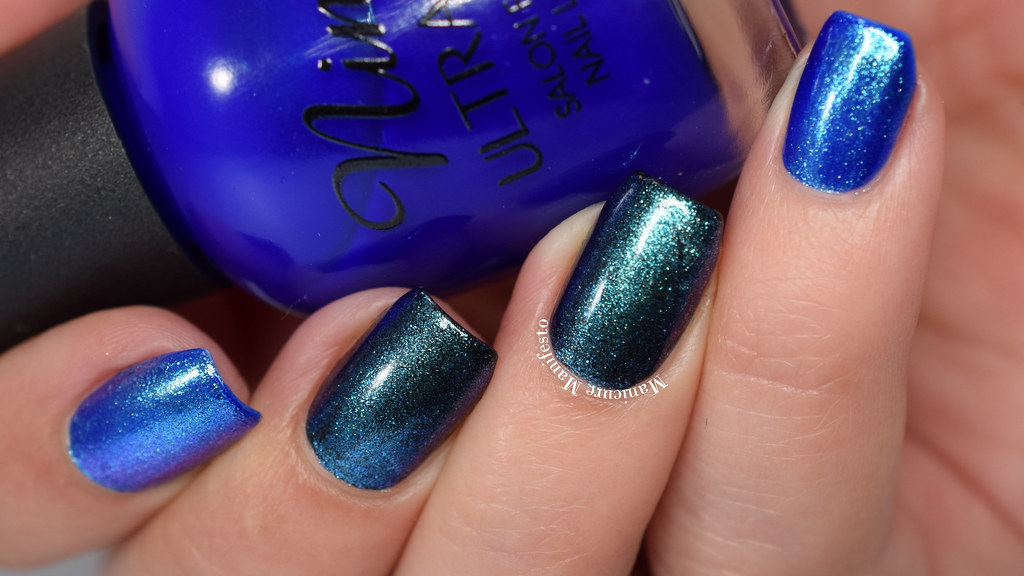
Born Pretty Store Chameleon Mirror Powder #684 Swatches & Review


Can I use chrome powder with regular polish?

Hello readers,
Today I continue my experiments using powders meant to accompany gel polish with regular polish. Before I tried out some metallic multichrome flakes and was rather successful. Today I'm trying some Chameleon Mirror Powder from Born Pretty Store.

December 23, 2016

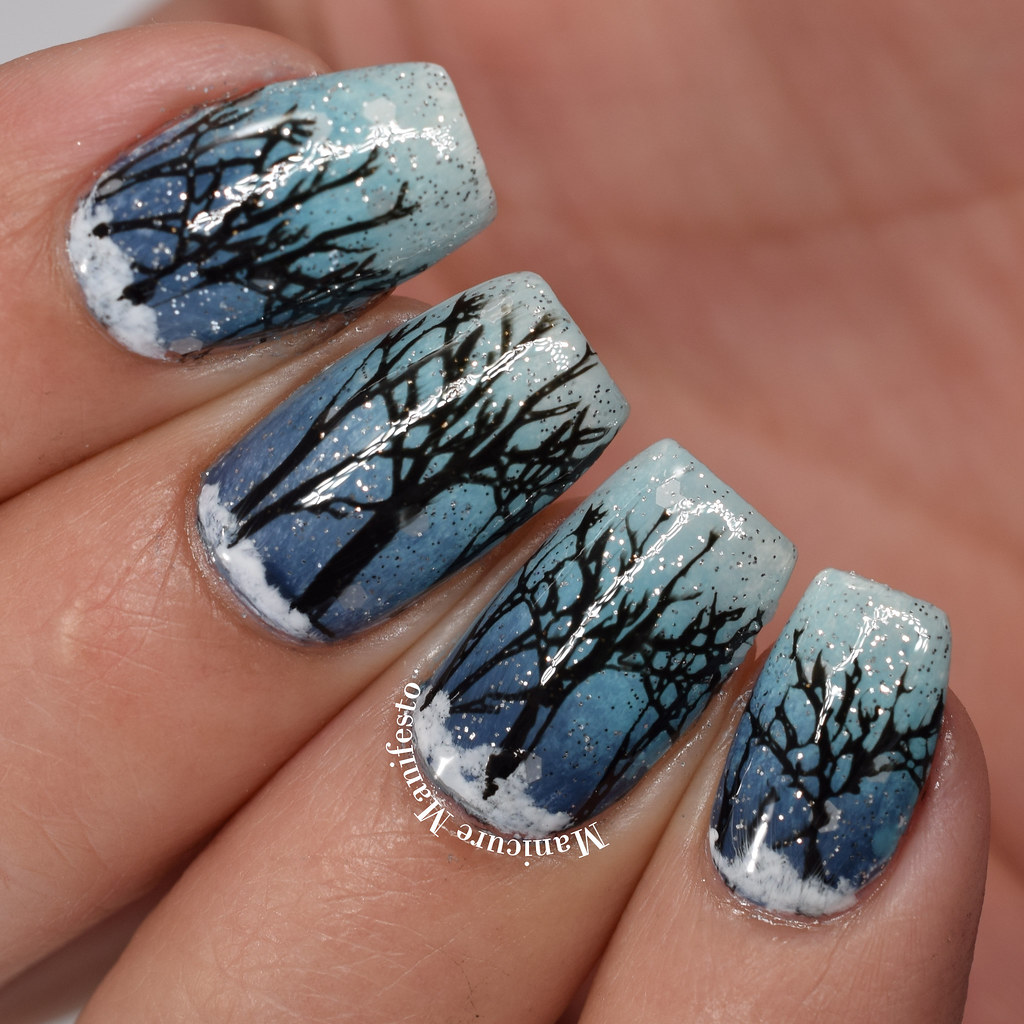
Snowy Winter Forest Nail Art


Christmas nail art

Hello readers,
Christmas is only a couple of days away and here in Southwestern Ontario it looks like it's going to be a white one. I'm not really one for the usual red and green holiday designs, but snow makes it feel like Christmas to me. For this year's holiday nail art I went for a peacefully snowy forest scene.

March 04, 2015

Octopus Nail Stamping


Hello readers,
Today I have a new adventure in polish stamping... stamping over a textured polish.  My first attempt was semi succesful.  I started out with a fully dried mani of Sally Hansen Sugar Shimmer Work Of Tart.  The I stamped it with Julep Michelle and Bundle Monster plate BM-401.  I finished everything off with two coats of Nubar Diamont top coat.  Unfortunately, the navy stamped polish kind of sunk into the crevices of the texture polish making the stamped image less crisp.  If I were going to repeat the process I would do one coat of top coat before stamping, then stamp my image and seal everything up with a second coat of top coat.  Still a cute mani though. Photos shown were taken under daylight spectrum lighting.


Happy polishing,

Michelle

February 25, 2015

Sally Hansen Sugar Shimmer Work Of Tart Swatches & Review


Hello readers,
I love shimmery texture polishes so when I saw that Sally Hansen came out with a shimmery version of the Sugar line I knew I had to grab some for myself. I patiently waited until they went sale and bought some.


Work Of Tart features a teal base with a strong gold sheen.  This colour mix ends up leaning more green. The formula was easy to work with though it was a little sheer. Every other texture polish I've ever tried required two coats but this one required three. The finish was slightly grittier than a Zoya Pixie Dust. Photos show three coats of Work Of Tart without a top coat in daylight spectrum lighting.

Sally Hansen Sugar Shimmer Sally Hansen Sugar Shimmer

Sally Hansen Sugar Shimmer Sally Hansen Sugar Shimmer

Sally Hansen Sugar Shimmer Sally Hansen Sugar Shimmer

Happy polishing,

Michelle

February 03, 2014

Koi Pond Nail Art

Hello readers! I have a quick post for you today. Remember when in my Arcane Lacquer Busy Body review I mentioned that it reminded me of a shimmering lagoon? I went with that though as inspiration for my next nail art and decided to try a koi pond. I used a combination of China Glaze Gossip Over Gimlets and Sally Hansen Kinetic Copper to make the metallic bodies of the fish. I then used China Glaze liquid leather and my tiniest finest nail art brush to trace out the scales and outlines.  Finally, I sealed everything up with a coat of CND Super Shiney top coat.  I'm really happy with how this turned out.  I love fish! :)


Happy polishing!

- Michelle

July 31, 2013

Spotted Water Marbling Nail Art Tutorial

Today I was inspired to try something new, spotted water marbling.  Specifically, I was inspired by this post I saw over on Cosmetic Sanctuary.  While I don't claim to have come up with this method, I will show you what worked best for me.  I don't think it looks too bad at all for a first attempt.  My middle nail is my personal favorite of the bunch.  I'm sure this is one of those methods that a bit of practice turns into lots of improvement.


What you need:
  • Base colour polish (I used Pahlish Though Still And Storm)
  • Marbling polish(es) (I used Sally Hansen Black Diamond and Sequin Frost)
  • Plastic container
  • Room temperature water (filtered works a bit better, but not necessary)
  • Toothpick
  • Pump (not aerosol) hair spray (I used Herbal Essences Set Me Up hairspray)
  • Top coat
  • Clean up supplies (cotton pads, nail polish remover, etc.)

Step 1: Paint your nails with your base colour and let them dry completely.


Step 2: Put some water into your plastic container (ignore the black polish drop at the bottom, the first kind I tried sank).

Step 3: Drop some some polish onto the water surface.  Don't hold the brush to high above the water or the polish will sink to the bottom.  I found 3 drops worked well for the black polish.

Step 4: Wait a few seconds until the polish spreads out.

Step 5: Spray a single spray of hairspray at the polish.  I found spraying from about 6" away worked well.

Step 6: Wait a few seconds for the spotted pattern to form.  It won't look exactly the same every time.  Either of the two pattern types below are fine.

Step 7: Dip your nail into the polish pattern.  I found that holding my nail at a slight angle and dipping it straight down worked well.

Step 8: While your nail is still underwater drag a toothpick around your finger to gather up any polish that's still floating.

Step 9: Pull your finger out of the water.  It's gonna be messy.

Step 10: Repeat for all of your nails.

Step 11: If you want a second marbling colour repeat again for all of your nails with a different polish colour.

Step 12: Clean up.  I used acetone remover and cotton pads to clean up most of the polish off my skin and then used a q-tip dipped in remover to clean up close to the edges.

Step 13: Add a coat of your favorite top coat.


April 29, 2013

Peacock Feather Nail Art Tutorial

I love peacock feathers.  They are just so eye catching.  I challenged myself to come up with peacock feather nail art that I could do fairly quickly.  This was the result.


There are lots of polishes involved but I can do a whole hand in about 20 minutes.  The key to doing this quickly is to do each step on the entire hand and then move on rather than completing each nail individually. 

 What you will need:

A long skinny brush

A dark green polish (Zoya Cynthia), a light gold metallic polish (SH Sequin Frost), a dark teal metallic polish (Nubar Earth), a dense gold glitter polish (CG Angel Wings), a bright blue cream polish (CG Shower Together), a shimmery blue (OPI Austin-tatious Turquoise),

A navy blue (Finger Paints Art of Theft), a shimmery light green (Orly Limelite), a dense dark green glitter (CG Winter Holly) and a medium green glitter (Nubar Meadow Sparkle).

What to do:

Step 1: Paint your whole nail with the dark green polish.  Use however many coats it takes to get opaque.


Step 2: Use the metallic gold polish to outline where the feather 'eyes' will go.


Step 3: Add thin stripes around these eyes using the metallic gold.


Step 4:  Colour in the top half of the eyes with the metallic gold.  Then, use the dark metallic teal to add more stripes around the eyes.  Try to offset these a bit from the gold stripes.


Step 5: Add the dense gold glitter around the edges an top half of the eyes.


Step 6: Add circles of bright blue cream on the bottom half of the eyes.  Add some of the shimmery blue on top of them.

Step 7: Add smaller circles of navy blue polish at the bottom center of the bright blue circles.


Step 8: Add a line of light green shimmery polish around the left edge of the eyes.

Step 9: Ad a line of dark green glitter around the right side of the eyes.

Step 10: Add a line of medium green glitter around the two stripes you just made.  It's subtle in the picture but it catches the light nicely.

Step 11: Wait a couple minutes for your polish to set then clean up your cuticles and add a coat of your favorite top coat.  You're done!


y